Alocasia African Mask Propagation: Step-by-Step Guide

G’day, plant lovers! Lucas William here, your Alocasia aficionado from the land Down Under. After a decade of hands-on experience with these captivating plants in both Australia and the USA, I’m thrilled to share my insider tips on Alocasia African Mask propagation. Get ready to turn your single showstopper into a whole family of gorgeous greenery!
Before we dive into the nitty-gritty of propagation, let’s make sure you’re equipped with the right tools. At Lexivo (https://lexivo.com.ng/shop/), we’ve got everything you need to make your Alocasia African Mask propagation a roaring success – from perfectly sized pots to precision pruning shears. Trust me, having the right gear makes all the difference!
Understanding Your Alocasia African Mask
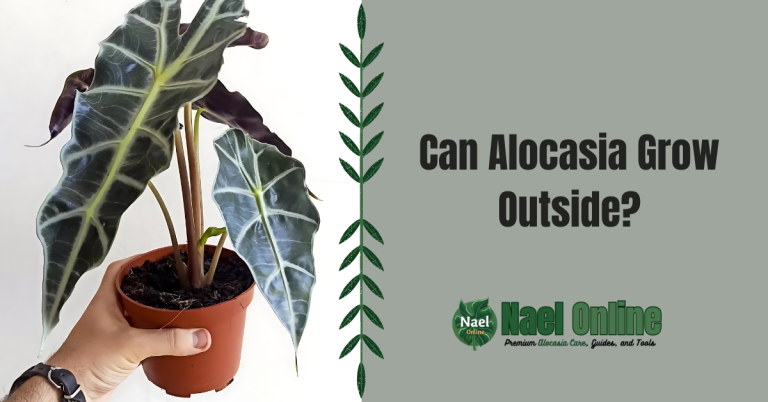
The Alocasia African Mask, also known as Alocasia amazonica or Alocasia ‘Polly’, is a stunning hybrid that’s stolen the hearts of plant enthusiasts worldwide. Its dramatic, arrow-shaped leaves with prominent white veins make it a true standout in any collection. But here’s the kicker – this beauty isn’t just for show. With the right know-how, you can multiply your Alocasia African Mask and spread the love!
Why Propagate Your Alocasia African Mask?
There are tons of reasons to dive into Alocasia African Mask propagation:
- Create new plants for free (who doesn’t love that?)
- Share the plant love with friends and family
- Rejuvenate an older, leggy plant
- Experiment with different growing conditions
Alocasia African Mask Propagation Methods: Choose Your Adventure
Alright, let’s get down to business. There are several ways to propagate your Alocasia African Mask, and I’ve had success with all of them. We’ll cover each method in detail, so you can pick the one that suits you best.
1. Division: The Classic Approach
Division is my go-to method for Alocasia African Mask propagation. It’s straightforward, has a high success rate, and gives you instant new plants. Here’s how to do it:
- Choose a healthy, mature plant with multiple stems.
- Carefully remove the plant from its pot.
- Gently separate the roots, keeping at least one healthy stem and leaves per division.
- Replant each division in fresh, well-draining potting mix.
- Water thoroughly and place in a warm, humid spot with indirect light.
Pro tip: Spring is the ideal time for division, as your Alocasia is gearing up for active growth.
2. Rhizome Cuttings: A Bit More Advanced
Rhizome cuttings are a great way to propagate your Alocasia African Mask if you’re feeling a bit more adventurous. Here’s the lowdown:
- Locate a healthy rhizome (the thick, horizontal stem) with at least one growth point.
- Using clean, sharp pruning shears, cut a 3-4 inch section of rhizome.
- Allow the cut ends to callus over for a day or two.
- Plant the rhizome horizontally in moist, well-draining potting mix, with any growth points facing up.
- Keep the soil consistently moist and warm (around 75°F/24°C is ideal).
Be patient – it can take several weeks for new growth to appear from rhizome cuttings.
3. Leaf-Petiole Cuttings: The Patience Game
This method of Alocasia African Mask propagation is a bit hit-or-miss, but it’s fascinating to watch when it works:
- Choose a healthy leaf with a long petiole (leaf stem).
- Cut the petiole at an angle, leaving about 2 inches attached to the leaf.
- Dip the cut end in rooting hormone (optional, but it can boost success rates).
- Plant the cutting in moist, sterile potting mix.
- Create a mini greenhouse effect by covering with a clear plastic bag, leaving some air circulation.
Keep the soil moist and be prepared to wait – this method can take months to produce a new plant.
The Secret Sauce: Optimal Conditions for Alocasia African Mask Propagation

No matter which propagation method you choose, creating the right environment is crucial for success. Let’s break it down:
Light: Finding the Sweet Spot
Your propagating Alocasia African Mask needs bright, indirect light. Too much direct sun can scorch those beautiful leaves, while too little light will result in slow, leggy growth. A north or east-facing window is often perfect.
Temperature and Humidity: Tropical Vibes Only
Remember, these plants hail from warm, humid climates. Aim for:
- Temperature: 65-80°F (18-27°C)
- Humidity: 60% or higher
To boost humidity, try:
- Grouping plants together
- Using a pebble tray filled with water
- Running a small humidifier nearby
Soil and Watering: The Goldilocks Zone
Alocasia African Mask propagation thrives in soil that’s consistently moist but never waterlogged. Use a well-draining potting mix and water when the top inch of soil feels dry to the touch.
Troubleshooting: When Alocasia African Mask Propagation Goes Sideways
Even with the best care, sometimes things don’t go as planned. Here are some common issues and how to fix them:
Yellowing Leaves
Often a sign of overwatering or poor drainage. Check your soil moisture and ensure your pot has adequate drainage holes.
No New Growth
Be patient! Alocasia African Mask propagation can take time. If weeks have passed with no signs of life, check for rotting rhizomes or roots and adjust your care routine.
Pest Problems
New plants are vulnerable to pests like spider mites and mealybugs. Regularly inspect your propagations and treat any issues promptly with insecticidal soap or neem oil.
From Propagation to Thriving Plant: The Next Steps
Congratulations! Your Alocasia African Mask propagation was a success, and you’ve got new growth. Now what?
Potting Up
Once your new plants have established roots and show steady growth, it’s time to move them to their permanent homes. Choose pots with drainage holes that are just slightly larger than the root system.
Fertilizing for Growth
Start feeding your new plants with a balanced, water-soluble fertilizer diluted to half-strength. Apply every 2-4 weeks during the growing season.
Ongoing Care
Treat your new Alocasia African Masks like the tropical beauties they are:
- Bright, indirect light
- High humidity
- Consistent moisture (but not waterlogged)
- Regular cleaning of leaves to prevent dust buildup
Alocasia African Mask Propagation: Quick Reference Guide
Here’s a handy table to keep your propagation efforts on track:
| Propagation Method | Success Rate | Time to New Growth | Difficulty Level |
|---|---|---|---|
| Division | High | 2-4 weeks | Easy |
| Rhizome Cuttings | Medium | 4-8 weeks | Moderate |
| Leaf-Petiole Cuttings | Low | 8-12 weeks | Challenging |
Wrapping Up: Your Alocasia African Mask Propagation Adventure
There you have it, plant pals – everything you need to know about Alocasia African Mask propagation. With a little patience and the right care, you’ll be well on your way to a thriving Alocasia family. Remember, every plant is unique, so don’t be afraid to adjust your approach based on what your green babies are telling you.
Ready to start your propagation journey? Don’t forget to check out our shop at https://lexivo.com.ng/shop/ for all the tools and supplies you’ll need. From premium potting mix to the perfect-sized pots, we’ve got you covered.
Happy propagating, and may your Alocasia family grow and thrive!
