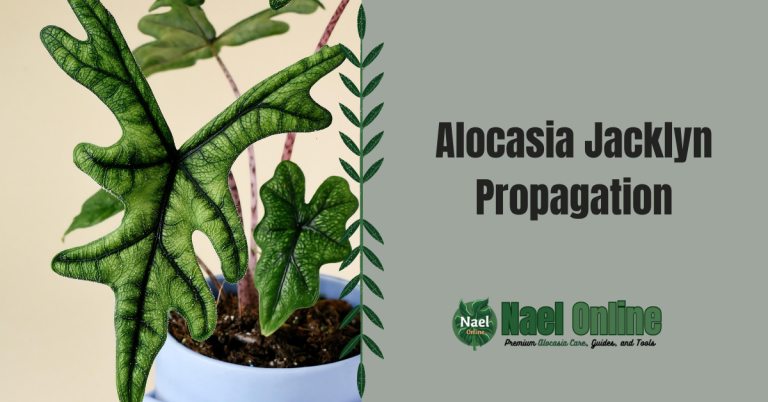
Alocasia Macrorrhizos Propagation: 3 Expert Tips for Growing New Plants

G’day, plant lovers! Lucas William here, your Alocasia aficionado from Down Under. For over a decade, I’ve been nurturing these green giants in my Fishers Hill home, and today, I’m thrilled to share my hard-earned wisdom on alocasia macrorrhizos propagation. Stick around, and I’ll show you how to turn one impressive plant into a whole forest of towering beauties!
Before we dive in, if you’re itching to start your Alocasia macrorrhizos journey, hop over to our Lexivo shop for top-notch pots, pruning shears, and other essentials. Now, let’s get our hands dirty!
Meet the Alocasia Macrorrhizos: The Giant Taro
Alocasia macrorrhizos, also known as Giant Taro or Elephant Ear, is a showstopper in any garden or home. With leaves that can grow up to 3 feet long and 2 feet wide, it’s no wonder this plant turns heads. But here’s the kicker – you can easily multiply this beauty through propagation!
Why Propagate Alocasia Macrorrhizos?
- Create a lush, tropical paradise in your backyard
- Share the love with fellow plant enthusiasts
- Save money by growing your own plants
- Experiment with different growing conditions
Alocasia Macrorrhizos Propagation: Methods That Work
In my years of experience, I’ve found three reliable methods for alocasia macrorrhizos propagation:
- Division
- Offshoot separation
- Corm propagation
Let’s break these down, shall we?
Method 1: Division – The Classic Approach
Division is my go-to method for alocasia macrorrhizos propagation. It’s straightforward and has a high success rate. Here’s how to do it:
- Water your plant thoroughly a day before division.
- Carefully remove the plant from its pot or dig it up if it’s in the ground.
- Gently shake off excess soil to expose the root system and rhizomes.
- Look for natural divisions in the rhizome (the thick, horizontal stem).
- Using a clean, sharp knife, separate the rhizome, ensuring each division has roots and at least one leaf or growing point.
- Pot up each division in a well-draining potting mix.
- Water lightly and place in a warm, humid spot with indirect light.
Pro tip: Always use sterilized tools to prevent disease transmission. I swear by the pruning shears from our Lexivo shop – they’re sharp, durable, and easy to clean.
Method 2: Offshoot Separation – Nature’s Way
Alocasia macrorrhizos often produces offshoots or “pups” around the base of the mother plant. These can be separated and grown into new plants. Here’s how:
- Wait until the offshoot has at least one or two leaves and is about 6 inches tall.
- Carefully dig around the base of the offshoot to expose its roots.
- Using a clean, sharp knife, cut the offshoot away from the mother plant, ensuring it has some roots attached.
- Pot up the offshoot in a container with well-draining potting mix.
- Keep the soil moist and place in a warm, humid environment.
Method 3: Corm Propagation – The Advanced Technique
Corm propagation is a bit more challenging but can yield multiple plants from a single corm. Here’s the process:
- Carefully dig up a mature Alocasia macrorrhizos.
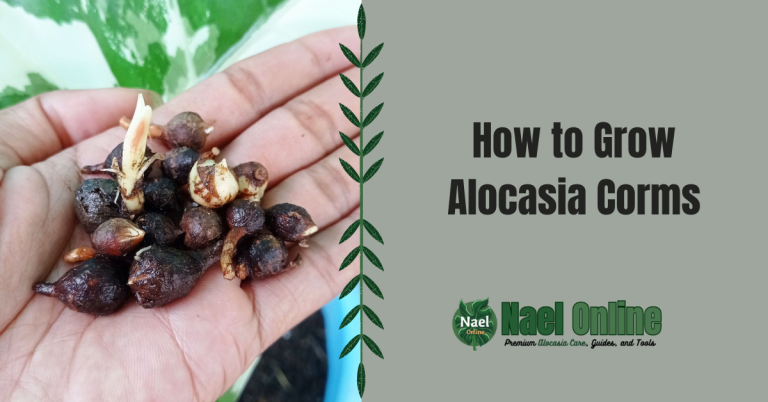
- Locate the corms – small, potato-like structures attached to the main rhizome.
- Gently separate the corms from the plant.
- Place the corms in a warm, moist environment (like a propagation box with moist sphagnum moss).
- Wait for the corms to sprout (this can take several weeks).
- Once sprouted, pot up each corm in its own container.
Remember, patience is key in alocasia macrorrhizos propagation. These plants can be slow to establish, but the wait is worth it!
Caring for Your Newly Propagated Alocasia Macrorrhizos
 Alocasia Macrorrhizos Propagation
Once you’ve mastered alocasia macrorrhizos propagation, it’s crucial to provide the right care to ensure your new plants thrive. Here’s a quick reference guide:
| Factor | Requirement |
|---|---|
| Light | Bright, indirect light |
| Water | Keep soil consistently moist |
| Humidity | High (60-80%) |
| Temperature | 60-85°F (15-29°C) |
| Soil | Well-draining, rich potting mix |
| Fertilizer | Monthly during growing season |
Let’s dive deeper into each of these factors:
Light: Finding the Sweet Spot
Alocasia macrorrhizos thrives in bright, indirect light. In my experience, an east-facing window works wonders. If you’re using a south or west-facing window, diffuse the light with a sheer curtain to prevent leaf burn.
Water: The Key to Lush Growth
These plants love moisture but hate wet feet. I water mine when the top inch of soil feels dry. In summer, this might mean watering twice a week, while in winter, once a week or less might suffice.
Pro tip: Use a moisture meter if you’re unsure. It’s saved many of my plants from an early, waterlogged grave!
Humidity: Embrace the Mist
Alocasia macrorrhizos loves humidity. In my dry Aussie home, I use a humidifier to keep my plants happy. If you don’t have one, try these tricks:
- Group plants together
- Use a pebble tray filled with water
- Mist regularly (but avoid water sitting on leaves)
Temperature: Keep it Cozy
These tropical beauties prefer temperatures between 60-85°F (15-29°C). Avoid cold drafts and sudden temperature changes, which can shock your newly propagated plants.
Soil: The Foundation of Health
For successful alocasia macrorrhizos propagation, use a well-draining potting mix. I swear by this recipe:
- 2 parts good quality potting soil
- 1 part perlite
- 1 part orchid bark
This mix provides excellent drainage while retaining enough moisture.
Fertilizer: Food for Growth
Once your propagated plants show signs of new growth, start feeding them monthly during the growing season with a balanced, water-soluble fertilizer diluted to half strength.
Troubleshooting Common Propagation Issues
Even with the best care, you might encounter some hiccups in your alocasia macrorrhizos propagation journey. Here are some common issues and how to address them:
- Yellowing leaves: Often a sign of overwatering. Let the soil dry out more between waterings.
- Drooping leaves: Could be underwatering or low humidity. Check soil moisture and increase humidity.
- No new growth: Be patient! Alocasia macrorrhizos can be slow to establish. Ensure it’s getting enough light and warmth.
- Root rot: If the stem feels mushy, you may have root rot. Remove affected parts and repot in fresh, dry soil.
FAQs: Your Burning Alocasia Macrorrhizos Propagation Questions
How long does it take for Alocasia macrorrhizos to root after propagation?
In my experience, it usually takes 2-4 weeks to see new root growth. However, visible leaf growth may take 1-2 months.
Can I propagate Alocasia macrorrhizos in water?
While some Alocasia species do well with water propagation, I’ve had mixed results with Alocasia macrorrhizos. Soil propagation tends to be more reliable.
How often should I repot my propagated Alocasia macrorrhizos?
I repot my young Alocasia macrorrhizos plants annually or when they outgrow their current pot. Mature plants can go 2-3 years between repotting.
Can Alocasia macrorrhizos be grown outdoors?
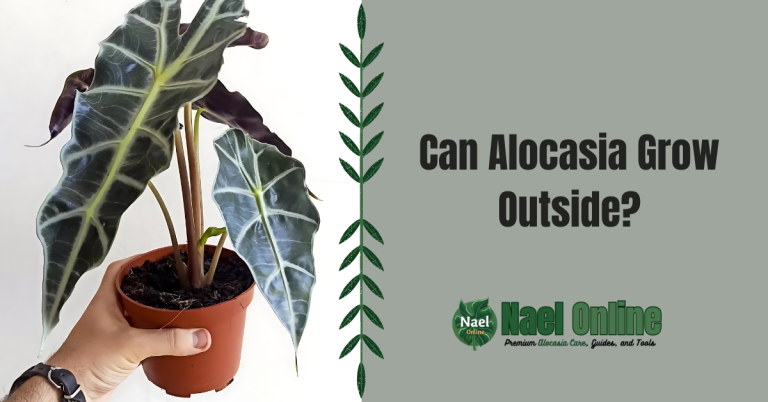
Yes, in USDA zones 8-11, Alocasia macrorrhizos can be grown outdoors year-round. In cooler climates, it can be grown as a summer outdoor plant and brought indoors for winter.
Wrapping Up: Your Alocasia Macrorrhizos Propagation Adventure
Alocasia macrorrhizos propagation is a rewarding process that allows you to multiply your plant collection and create a stunning tropical display. With patience, care, and the right techniques, you’ll soon have a thriving Alocasia macrorrhizos family!
Ready to start your propagation journey? Don’t forget to check out our selection of top-quality pots, pruning shears, and specialized fertilizers at Lexivo. We’ve got everything you need to set your Alocasia macrorrhizos up for success.
Remember, every plant parent’s experience is unique. Don’t get discouraged if you face some challenges – that’s all part of the fun! Keep experimenting, learning, and most importantly, enjoying the process of growing these magnificent plants.
Got questions about alocasia macrorrhizos propagation? Drop a comment below or reach out to us at naelonline@gmail.com. Happy propagating, mates!

