Growing Alocasia Indoors: Expert Tips for Thriving Plants

Hey there, plant lovers! Lucas William here from Lexivo. I’ve been nurturing Alocasia plants for over a decade in my home in Fishers Hill, New South Wales. Today, I’m thrilled to share my hard-earned wisdom on growing alocasia indoors. Trust me, these stunning plants can transform your space into a lush, tropical paradise!
Why Alocasia? The Indoor Jungle-Maker’s Dream
Alocasia, with its bold, arrow-shaped leaves, is a show-stopper. It’s like having a piece of the rainforest right in your living room. But let’s be real – growing alocasia indoors can be tricky. Don’t worry, though. I’ve killed my fair share of these beauties over the years, and now I’m here to help you avoid my mistakes.
Getting Started: Choosing Your Alocasia
First things first – pick the right Alocasia for your space. Some popular indoor varieties include:
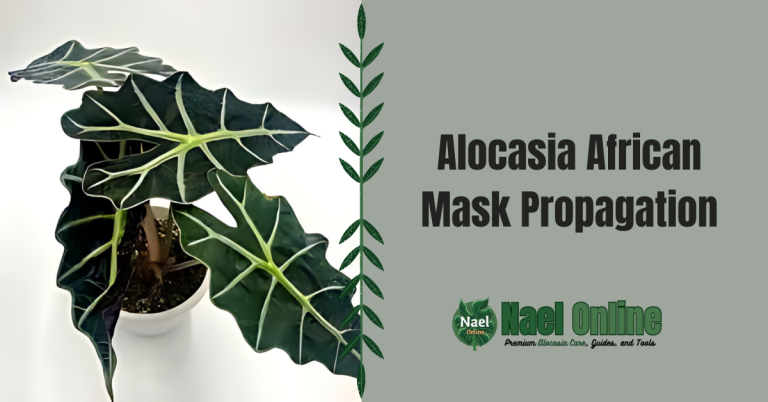
- Alocasia Polly (African Mask Plant)
- Alocasia Amazonica
- Alocasia Zebrina
- Alocasia Frydek
Each has its unique charm, but they all need similar care. Speaking of care, let’s break it down:
Alocasia Care Guide: The Nitty-Gritty
Here’s a quick reference table to get you started:
| Factor | Requirement |
|---|---|
| Light | Bright, indirect sunlight |
| Water | Keep soil moist, not soggy |
| Humidity | High (60-80%) |
| Temperature | 60-80°F (15-27°C) |
| Soil | Well-draining, rich in organic matter |
| Fertilizer | Monthly during growing season |
Now, let’s dive deeper into each of these factors.
Lighting: The Goldilocks Zone
Alocasia plants are fussy about light. Too much direct sun will scorch those beautiful leaves, but too little light will result in leggy, weak growth. In my experience, the sweet spot is bright, indirect light. I’ve had great success placing my Alocasias near east-facing windows or a few feet back from south-facing windows with sheer curtains.
Watering: The Moist (But Not Soggy) Rule
When it comes to growing alocasia indoors, watering can be tricky. These plants like consistently moist soil, but they’ll throw a fit if their feet stay wet for too long. I water mine when the top inch of soil feels dry. In summer, this might mean watering twice a week, while in winter, once a week or less might suffice.
Pro tip: Use a moisture meter if you’re unsure. It’s saved many of my plants from an early, waterlogged grave!
Humidity: Embrace the Mist
Alocasias are tropical divas that crave humidity. In my dry Australian home, I’ve had to get creative. A humidifier works wonders, but if you’re on a budget, try these tricks:
- Group your plants together
- Place a pebble tray filled with water under the pot
- Mist the leaves regularly (but not too much, or you’ll invite fungal issues)
Soil and Fertilizer: The Foundation of Health
Your Alocasia’s soil is its lifeline. I use a mix of:
- 2 parts good quality potting soil
- 1 part perlite
- 1 part orchid bark
This combo provides excellent drainage while retaining enough moisture.
As for fertilizer, I feed my Alocasias monthly during the growing season (spring and summer) with a balanced, water-soluble fertilizer diluted to half strength. Remember, it’s better to under-fertilize than over-fertilize!
Common Problems and Solutions
Even with the best care, you might encounter some issues when growing alocasia indoors. Here are some I’ve faced:
- Yellow leaves: Often a sign of overwatering or poor drainage
- Brown leaf edges: Usually due to low humidity or mineral buildup from tap water
- Drooping leaves: Could be underwatering, low humidity, or temperature stress
- Pests: Keep an eye out for spider mites and mealybugs
Seasonal Care: Adapting to Your Alocasia’s Needs
Alocasias have a distinct growing season and dormancy period. In spring and summer, they’re in full growth mode. This is when you’ll want to:
- Increase watering frequency
- Start your fertilization schedule
- Repot if necessary (I do this every 1-2 years)
Come fall and winter, your Alocasia will slow down. During this time:
- Reduce watering
- Stop fertilizing
- Maintain temperature (they hate cold drafts!)
Propagation: Spreading the Alocasia Love
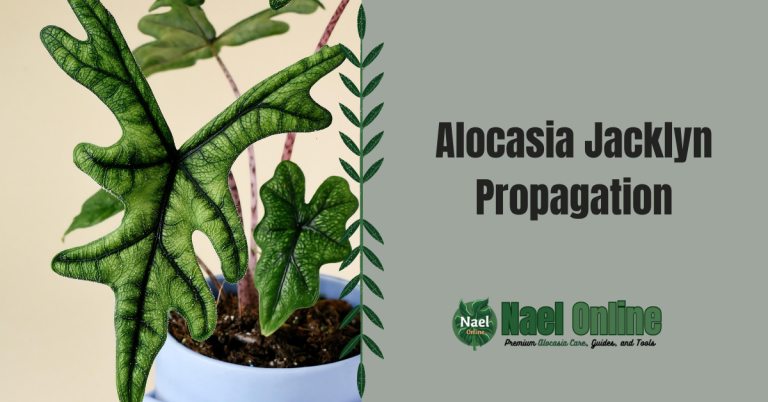
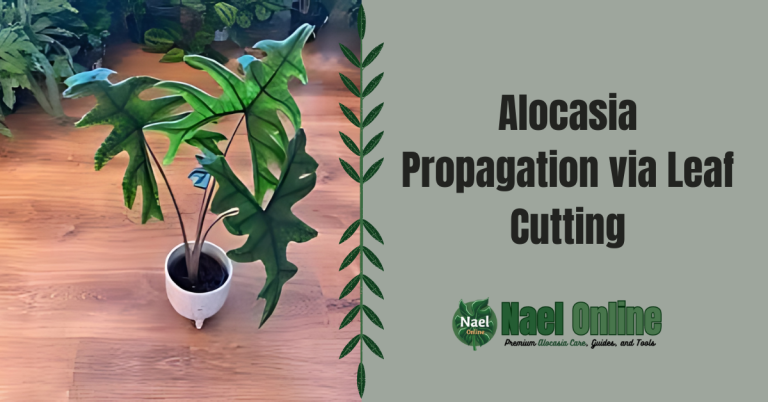
Want more Alocasias? Good news – they’re easy to propagate! The best method I’ve found is division during repotting. Simply separate the rhizomes, ensuring each division has at least one leaf and some roots. Plant these in separate pots, and voila – new Alocasias!
Creating the Perfect Alocasia Display
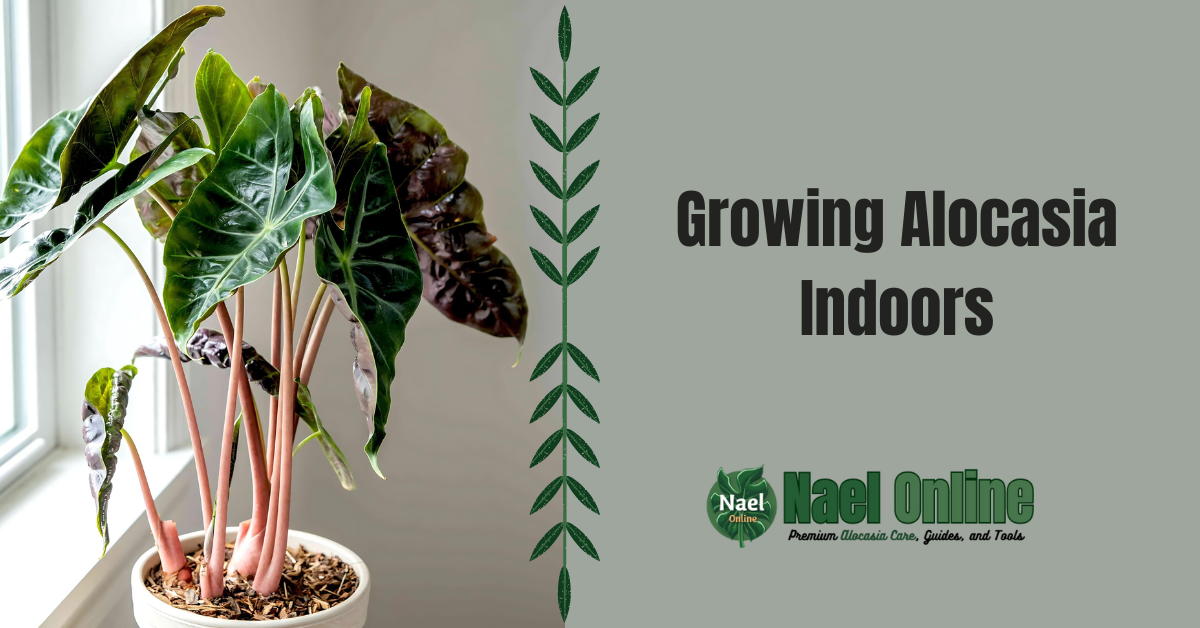
Growing alocasia indoors isn’t just about keeping them alive – it’s about showcasing their beauty. Here are some tips:
- Use decorative pots that complement their leaf shapes
- Place them at varying heights for a dynamic display
- Pair them with other tropical plants for a jungle vibe
- Use them as living art in your home office or living room
Remember, Alocasias can be mildly toxic if ingested, so keep them away from curious pets and children.
Wrapping Up: Your Alocasia Journey Begins
Growing alocasia indoors is a rewarding experience that transforms your living space into a tropical oasis. With the right care, patience, and a bit of practice, you’ll be an Alocasia whisperer in no time!
Ready to start your Alocasia adventure? Check out our selection of top-quality pots, pruning shears, and specialized fertilizers at Lexivo. We’ve got everything you need to set your Alocasias up for success.
Remember, every plant parent’s journey is unique. Don’t get discouraged if you face some challenges – that’s all part of the fun! Keep experimenting, learning, and most importantly, enjoying the process of growing these magnificent plants.
Got questions about growing alocasia indoors? Drop a comment below or reach out to us at naelonline@gmail.com. Happy planting!
